Having a hood scoop on my car is something I've always dreamed of, and certainly one of the first things that went on my list of 'must haves' when I originally bought this Mustang. Going on four years now I've dreamed of what my scooped hood would look like, so while CJ's had this
Dynacorn 69 Mach 1 hood scoop on sale for 20% off, I jumped on the opportunity to finally make it happen. After all, the timing was growing essential since I am currently doing the body work on the hood.While this hood scoop was originally for 69 Mach 1's, it is essentially the same scoop you'd find on a 68 428 Cobra jet, though the bolt holes are different. Nevertheless I have a friend who installed one of these scoops on his 67 as well, and the scoop will fit on just fine. It was nice to finally do a 'fun' thing to the restoration. You all know what it's like; you have the the list of absolute essentials you have to do....take off old undercoating, add new caulk, or in my case, day in and day out of body work, applying filler, and sanding filler and primer. And then you have that list of the really 'fun' things you want to do...the often 'non-essentials' to performance of the car, and serve no other purpose other than to make the ride look neat. I'm rambling now so I'm going to stop.
 |
| I bought this hood scoop template on Ebay for a grand total of $3 shipped. |
 |
| Rather than blindly sticking the template down and drilling holes, I did a test to see how well they matched up with the bolts on my Dynacorn fiberglass reproduction hood scoop. Turns out it was a good thing I did a test fit because there were several studs that were way off. |
 |
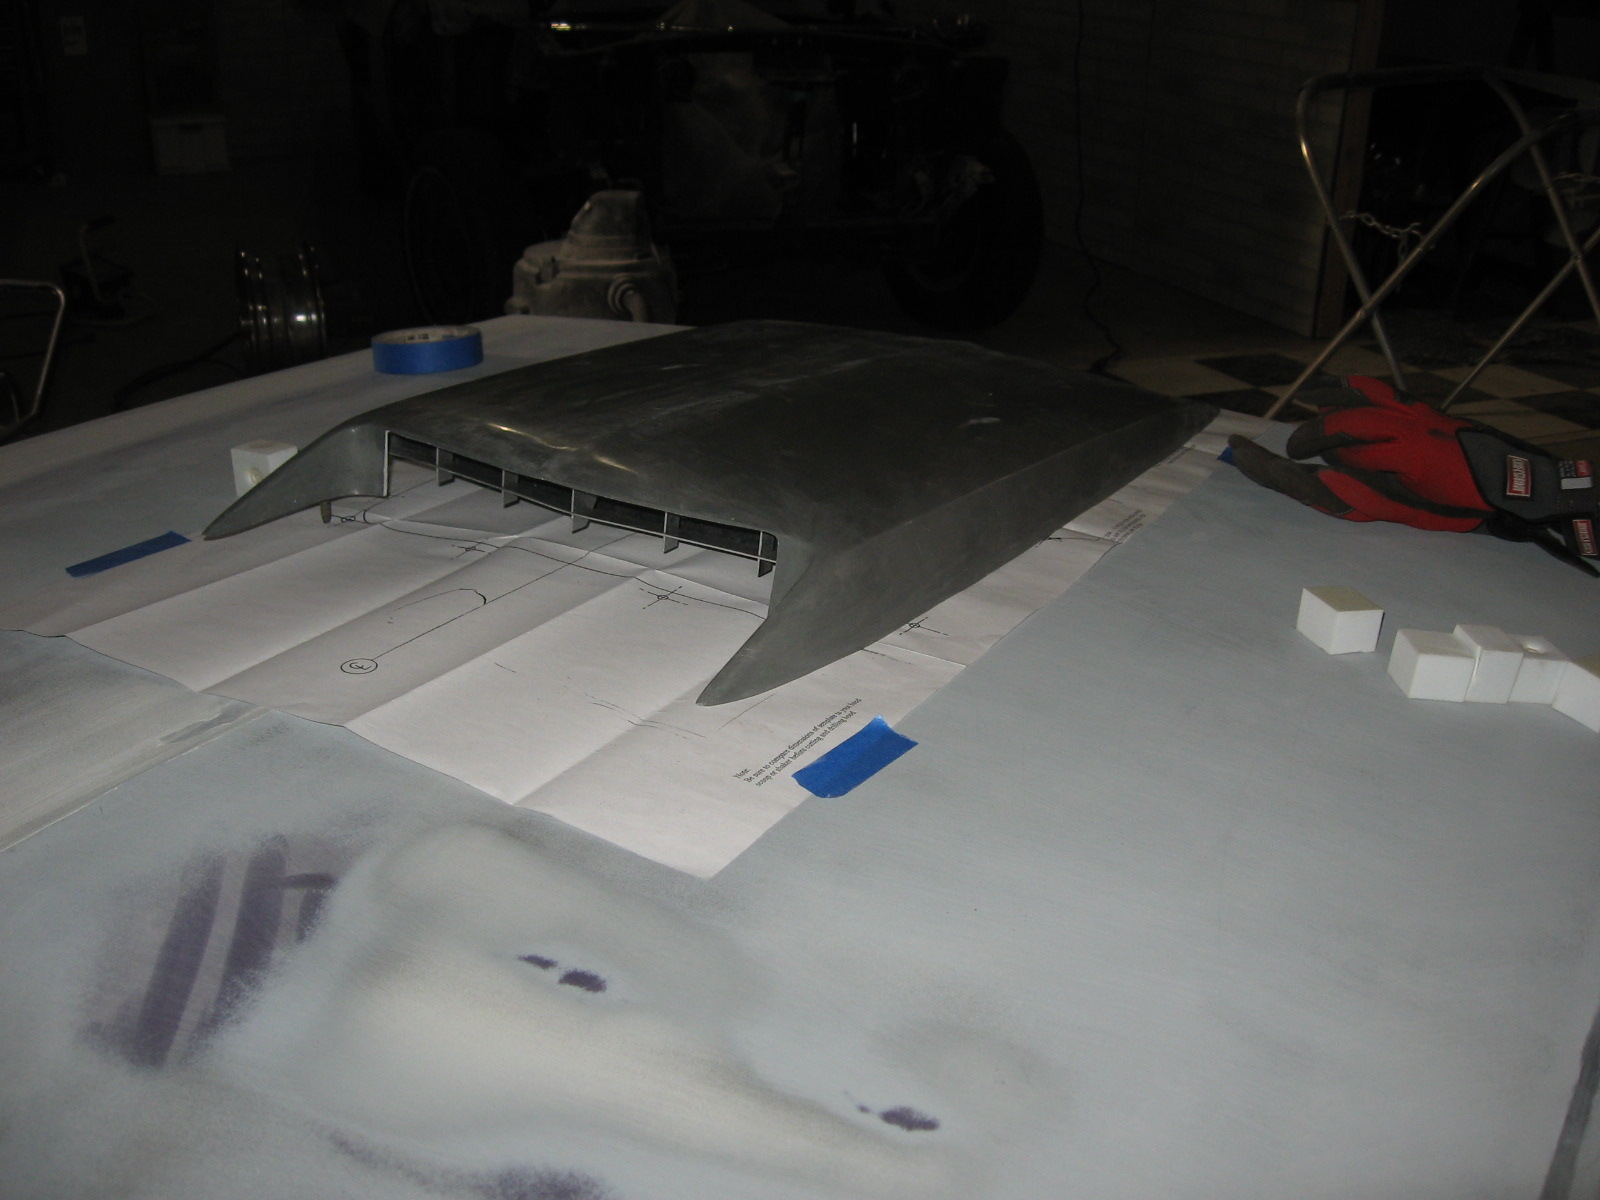
| I taped the template down so I could still get proper placement of the scoop. The back three bolts lined up with the holes so I still used those holes in the template to make my mark on the hood for the back three bolts. |
 |
| I then taped a piece of string to each end of the hood so it ran tightly right down the center ridge of the hood much like you would do with a chalk line. This is to help me keep my center. |
|
 |
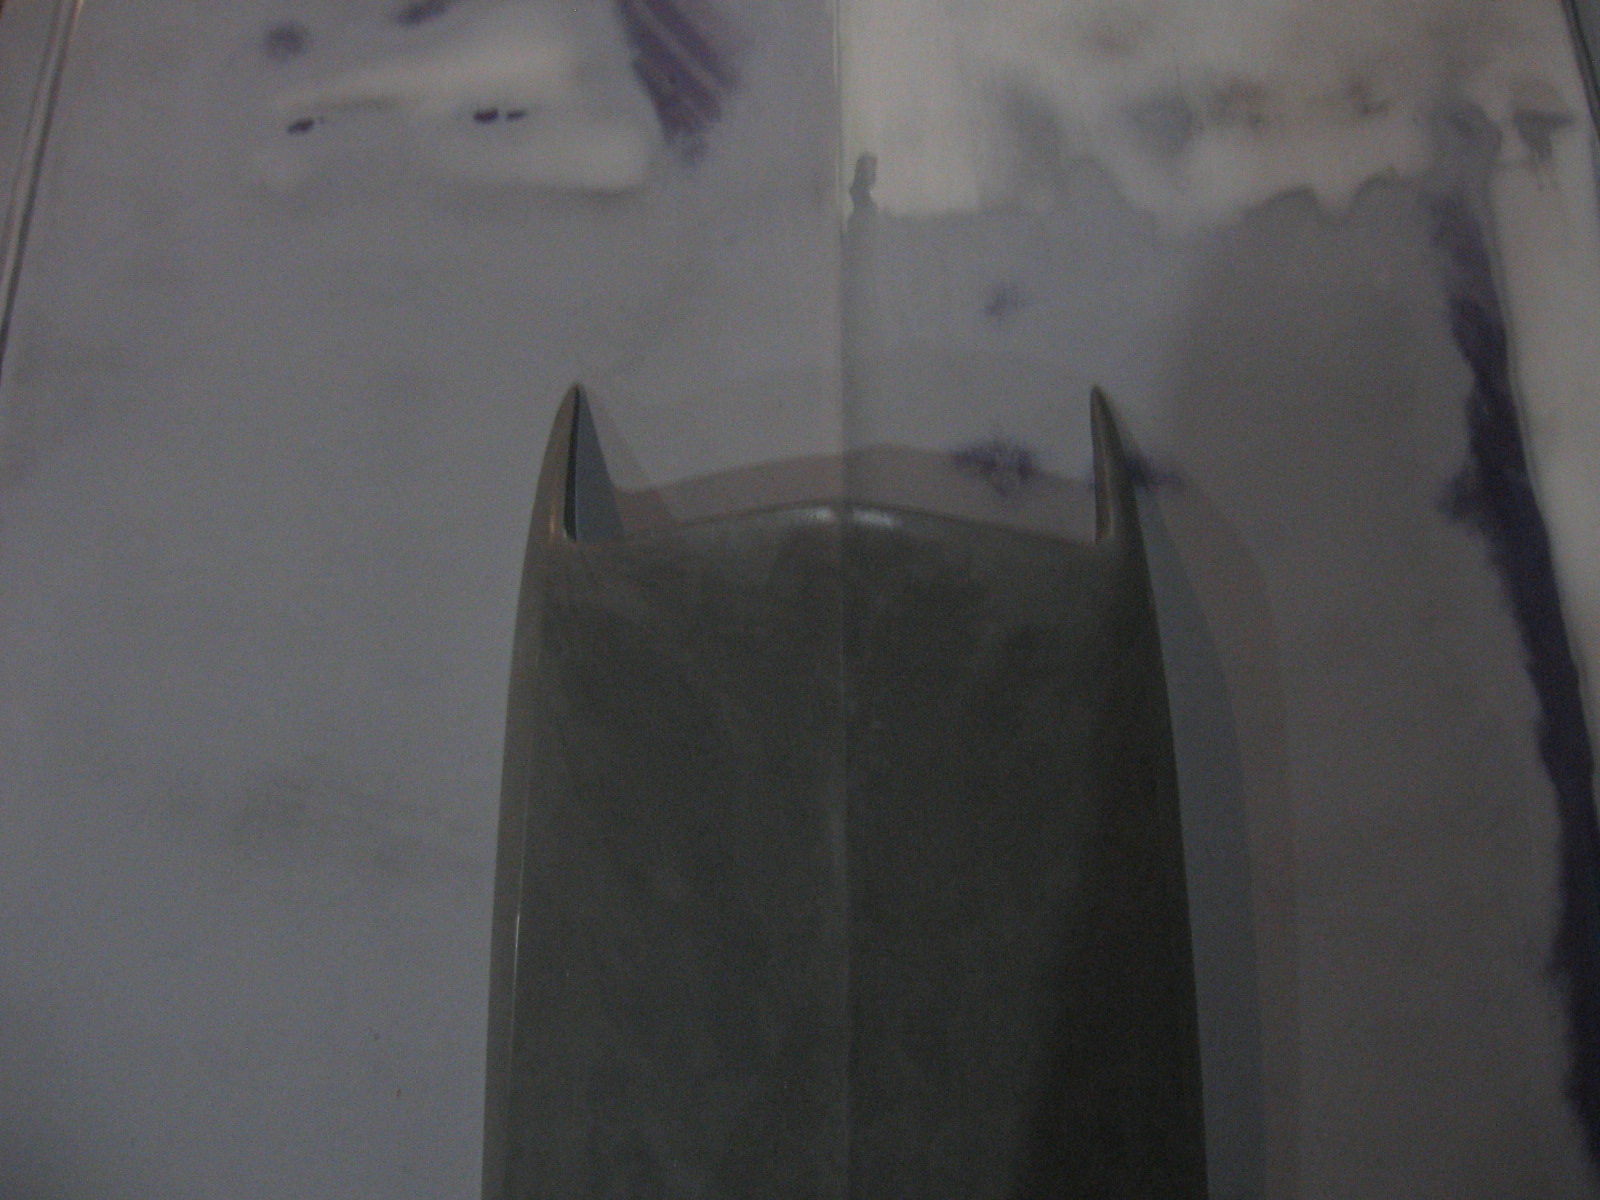
| I then lifted up the string and slid the scoop underneath so the string ran along the center ridge of the scoop. This will allow me to keep it perfectly centered on the hood. |
 |
| I traced around the outside of each stud to mark my hole locations. |
 |
| I then began drilling, starting with a small bit and stepping my way up to a final hole size of 5/16" through 4 series of drill bit size increases. It's essential to use a sharp bit here; the bit needs to penetrate through the metal as easily and effortlessly as possible so you don't have to distort the skin by pushing down on it with the drill. |
 |
| After I finished with the 5/16" bit I did a test fit of the hood and then hogged out some of the holes with a Dremel in the direction I needed to go to make the studs fit in the hole. By the way, if you don't have a Dremel in your body work toolbox you really need one. |
|
 |
| All the holes are drilled now. You can see my big ugly hole on the bottom left (I realize that did not sound right). The next picture explains how I got that boo boo. |
 |
| Beneath the back three holes there is a substructure to the hood that you also need to drill through. After drilling all the holes on top, I went back with a small drill bit straight down through the back three holes to drill through the substructure underneath, also stepping my way up through incremental drill bit sizes. These holes on the bottom need to be large enough that you can fit a 10 mm deepwell socket into them to tighten the nut on the stud. Once you've drilled them through with the 5/16" bit from the top, do not do like me and flip the hood over and try to enlarge the hole with a half inch drill bit. On my first hole, the drill bit pushed all the way down through the skin of the hood and turned my 5/16" hole on the top of the hood into an ugly, broken 1/2" hole! (To remedy this I will slide a rubber washer up the stud once the scoop is in place, then add the nut.) |
 |
| Set the scoop in place and GENTLY tighten down the nuts from underneath. Hand tighten them; if you over tighten them you can rip the studs out of their fragile fiberglass bosses. I used a 10 mm deepwell socket on an extension to add the nuts to the back three studs. |
 |
| Bodywork to the scoop is now needed (more on this later when I begin this), but now the scoop is installed! |


My comment got lost? Wow. What is the distance, between the back of the hood, in the center, to the back of the hood scoop to be installed?
ReplyDeleteI have a 69 Cougar, I'm putting a Mach I hood scoop on it, and I'm installing a 69 Camaro rear spoiler! I just don't want to guess and I need that one measurement to get me started. Please email to: henningtax@hotmail.com
Thanks,
Terry.................
Is their a rubber seal or gasket between the scoop and the hood, or do you just mount it on with no gaskets, if no gaskets are used doesn't hood rub against hood and ruined paint. Thanks for your time. 70 mustang
ReplyDeleteIs their a rubber seal or gasket between the scoop and the hood, or do you just mount it on with no gaskets, if no gaskets are used doesn't hood rub against hood and ruined paint. Thanks for your time. 70 mustang
ReplyDeleteThere is no seal, but you could make one there if you like, maybe with strip caulk but it wouldn't be too clean. It's bolted down tight so it doesn't move or really rub. No more than the headlight buckets or quarter extensions would, and those seals were only to cut down on rattling.
Delete