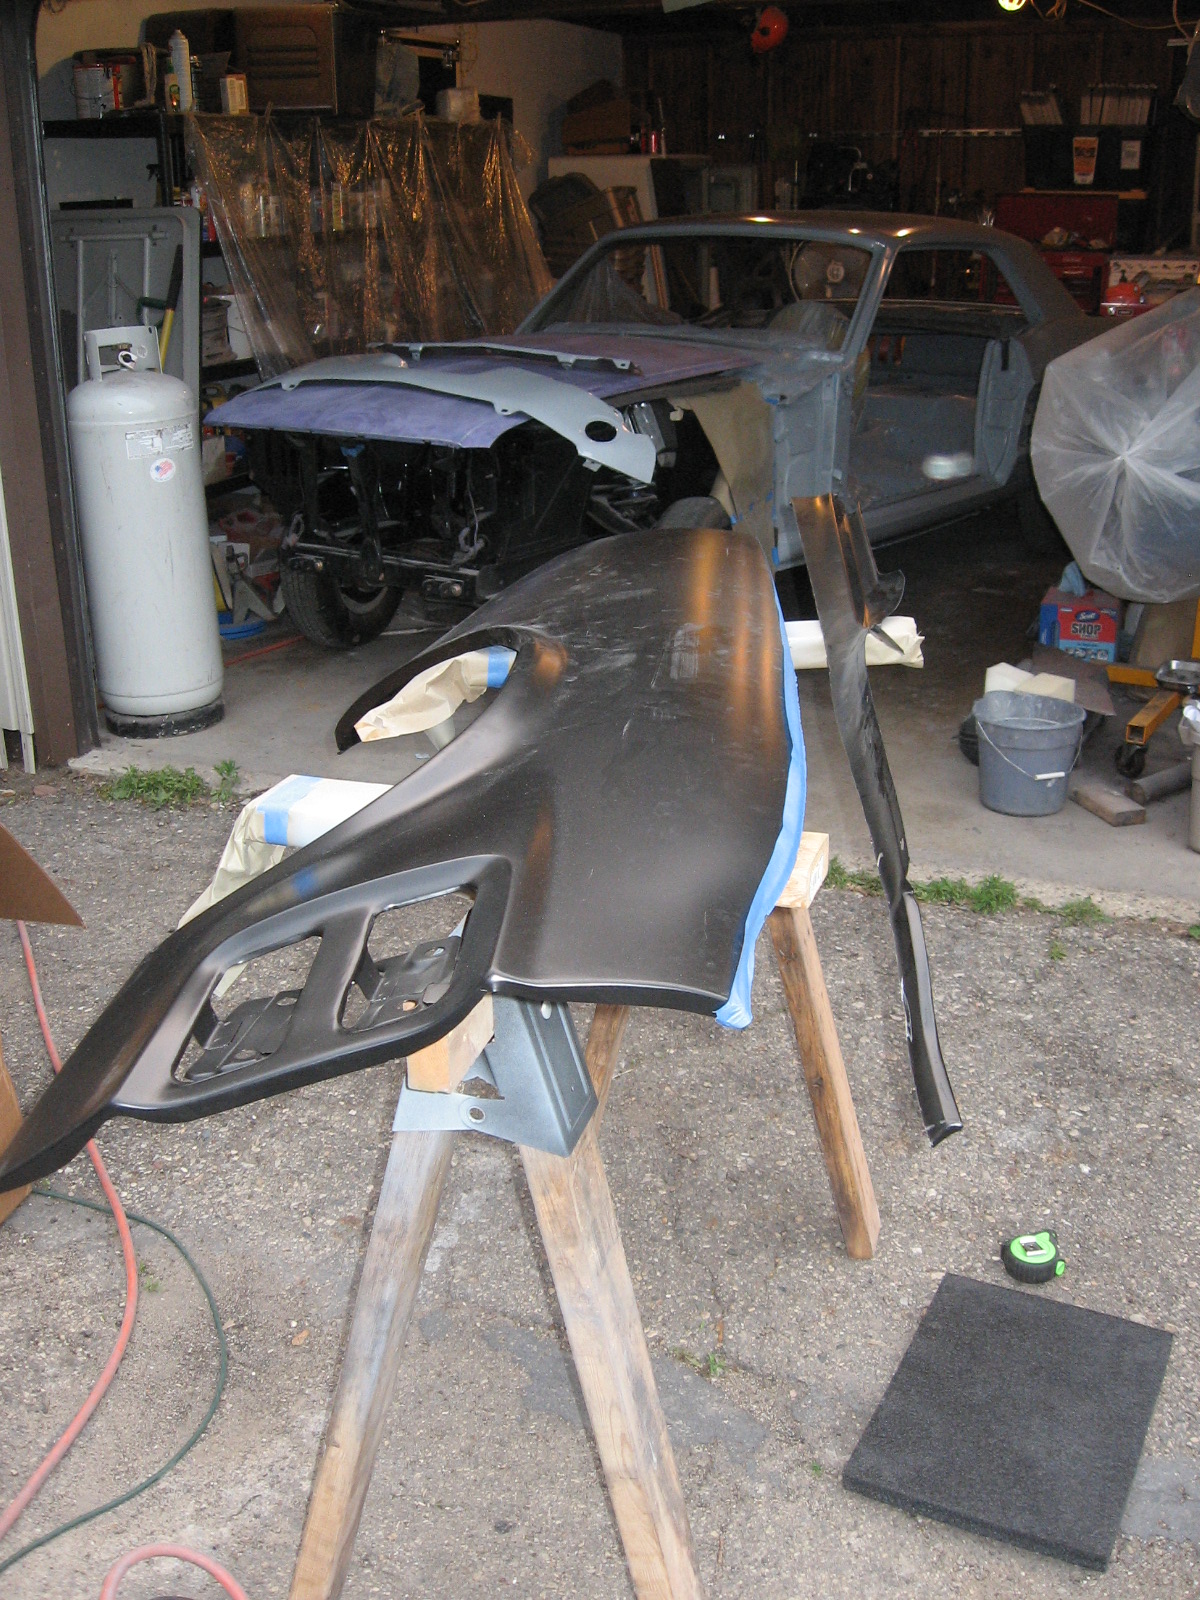
It is the end of September...almost October, and the last post I made was in June. This was partly do to procrastinating my updates here, mostly due to being really busy with in depth body work so there wasn't a lot to say, and again partly because I relocated to Kalamazoo, MI in the beginning of Sept to work for Pfizer Animal Health.
In sanding down the passenger's side quarter panel I came across more bad news. Excessive filler and body damage meant this quarter was going to need to be replaced too.
 |
| This filler was best removed with an air chisel because it was that thick. There was also shrapnel in it. This part of the car was hit and completely dented in. Instead of pulling it out all they way, the body line was reshaped with excessive amounts of filler. |
|
 |
| The wheel house and quarter was flattened here and lost its contour. It was reshaped with a half inch of filler. |
Not wanting to go through the nightmare of replacing a full quarter this time, I opted to only replace a quarter skin. All spot welds along the lip of the wheelhouse, along the bottom of the drop downs, above the rocker, inside the door jamb, and on the back where the quarter meets the tail light panel were ground away with a cut off wheel or a spot weld cutter, taking care to leave the mating surface perfectly intact.
Two strips of painters tape were then striped down the side following the body line to give me a cutting guide 2" beneath the body line. Once the cut was made, the quarter skin was easily removed.
 |
| The damage to the rear of the quarter is apparent in this picture. My cutting line was masked off with tape. |
 |
| I cut along the line with a cut off wheel and popped the quarter skin off. |
 |
| The inside metal was then stripped with a wire wheel, degreased, primed with etching primer, and painted with chassis saver. Paint will be removed from surfaces where welds will go. | | | | |
|
|
Now for all those of you considering replacing a quarter skin, LISTEN UP. I ordered a quarter skin from CJ Pony Parts. It was backordered and took awhile to get here. Once I got it, I noticed a large crease beneath the body line along the drop down at the rear. It almost looked like a second body line, but I was sure it was damage. I reported the problem to CJ's and they happily sent me a new skin and arranged for FedEx to pick up the old skin at no cost to me. Upon arrival of the new skin I noticed the exact same line. I now realized it's how the skins were manufactured and the first one I had was not damaged at all. If I did not like it I was going to have to work it out by hand.
The test fit of the skin was a nightmare. The skin was almost 1/2" too long and the skin was nowhere close to even matching up with the drop down behind the tire. It was so bad I actually laughed out loud to myself when I was trying to fit it. Not only this, but the back of the skin is not stamped where the rear valance should fit in. There was no way in the world this skin was ever going to work without serious cutting and rewelding. Oddly enough, the wheel well radius of the skin and wheel house was a near perfect match. So I scrapped that $80 skin and ordered a full quarter from CJ.
If you are replacing a skin, my advice from this point forward is always going to buy a full quarter and cut it down to a skin. The full quarters are manufactured better with thicker metal, and they are a more accurate reproduction. In general they are just built better and fit better. I took my full quarter, drilled out the spot welds in the rear, and cut the entire panel one inch below the body line.
 |
| To make a skin out of a full quarter, the end of the panel here was removed. |
 |
| I taped off the top of the panel and cut along the body line. |
|
|
The next steps were a matter of fitting the new panel. Upon initial test fit, everything lined up very well and I was feeling much better in my decision to modify a full panel, even if it did cost me another $300+. I probably saved that much in glass since no tools were thrown through windows.
Because there had been an impact on the outside of the wheel well, it was dented in badly and the wheel house was pushed in about an inch and would not make contact with the quarter wheel well.
 |
| I traced a black line along the edge of the quarter wheel well on the lip of the outer wheel house. The edge of the lip to the black line is how far out the wheel house needs to be pulled out. |
|
|
 |
| I tried to push the wheel house out as much as possible with a Porta-power but this was difficult. What ended up working the best was cutting three slits so I could pull the sections out farther to where they needed to be. The slits will have to be welded closed from the inside once the quarter is installed. |
|
|
 |
| The panel was then mounted and screwed into place. The top was also screwed about every 15". |
Welding
Because I want to 'do it right,' I'll be butt welding the new panel to the old panel, eliminating the need to have an overlap. I've heard this is very difficult to do, but given my success in replacing the sail panel, I felt I was up to it as I've become very confident in my welding skillz.
I cut right along the top of the new panel, using it as a guide to
finish cutting the old panel since I had intentionally left excess. A
cut off wheel works best for this. Cutting right along the new panel
resulted in a perfect match of the new panel to the old panel. The
strip of excess that falls off the old panel is then pulled out from the
inside.
 |
| I installed panel clamps to hold the panels flush so I can start tack welding. |
 |
| I made a series of tack welds about every 8 inches with my Eastwood 110V Mig welder (which is a fantastic piece of equipment and I highly recommend, by the way). After the welds have cooled, I come back and make a new tack next to the old one, and continue this slow process until I have a fully welded panel. |
 |
| Finally, after several days of welding, the welds are complete and the quarter panel is completely installed. |
 |
| Unfortunately, try as I might, I still ended up getting some very bad warpage even though I precariously took deliberate measures to avoid it. I'll have to stretch this metal with on-dolly hammering. |
|
|
Before I mounted the quarter for the final time, I had punched or drilled holes along the door jambs, wheel well, and rear flange so I could make plug welds in them. The quarter will be welded to the rocker by tack welds made from the inside.
 |
| My repairs to the wheel house made it line up perfectly with the wheel opening in the quarter panel. Then I made my plug welds. |
 |
| I had also punched holes along the drop down to make plug welds here. |
 |
| ...and made my plug welds in the door jamb. |
 |
| And the completed project. If you're a hippy, you'll see orbs in this picture. If you're normal like me, you just see light reflections from suspended dust in the air. |
|
I grind down the welds using a combination of an angle grinder and a cut off wheel. You have to be careful and not dwell in the same spot too long to avoid heating the metal up too much and warping it.
All in all, it came out very good and my old body teacher Kirk was highly impressed, and then was even more impressed when he realized I butt-welded the entire thing. I still wasn't without some nasty, nasty warpage that was quite discouraging, but I guess that's another day's project.


Nice write-up Josh....I ordered a new complete quarter panel from RDW the local Mustang Shop and they stated it would be a Dynacorn product. I also ordered the outer wheel house. I'll be posting at AFM when I start the project.
ReplyDeleteJeff
Thank you very much for your post. I am just going to tackle that same job, and I can not decide if I should do the whole quarter panel or just the skin.
ReplyDelete