This will be a short and sweet entry...my favorite kind. This was actually a short and sweet job. I did all the work here in about two hours at the comfort of the dining room table. And my wife probably actually enjoyed it because she was sitting at the table working on her own thing (so it meant we could 'be together.')
My dash cluster wasn't actually in that bad of shape to start with, but it was pretty dusty by this point with lots of paint dust on it:
The dust cleaned off easy enough and I unscrewed the front of the bezel from the cluster. I cleaned the gauges with a detailer spray (only because I had it, nothing strategic to this choice....really). I'll repaint the speedometer needle with a flourescent needle paint of the right Ford color--this is on order.
The black painted part of the plastic cleaned and shined up great just in wiping it down with Armor All after cleaning the dust off.
I then replaced all the plastic bezel lens with new Scott Drake lens which look great and look and fit exactly like the originals.
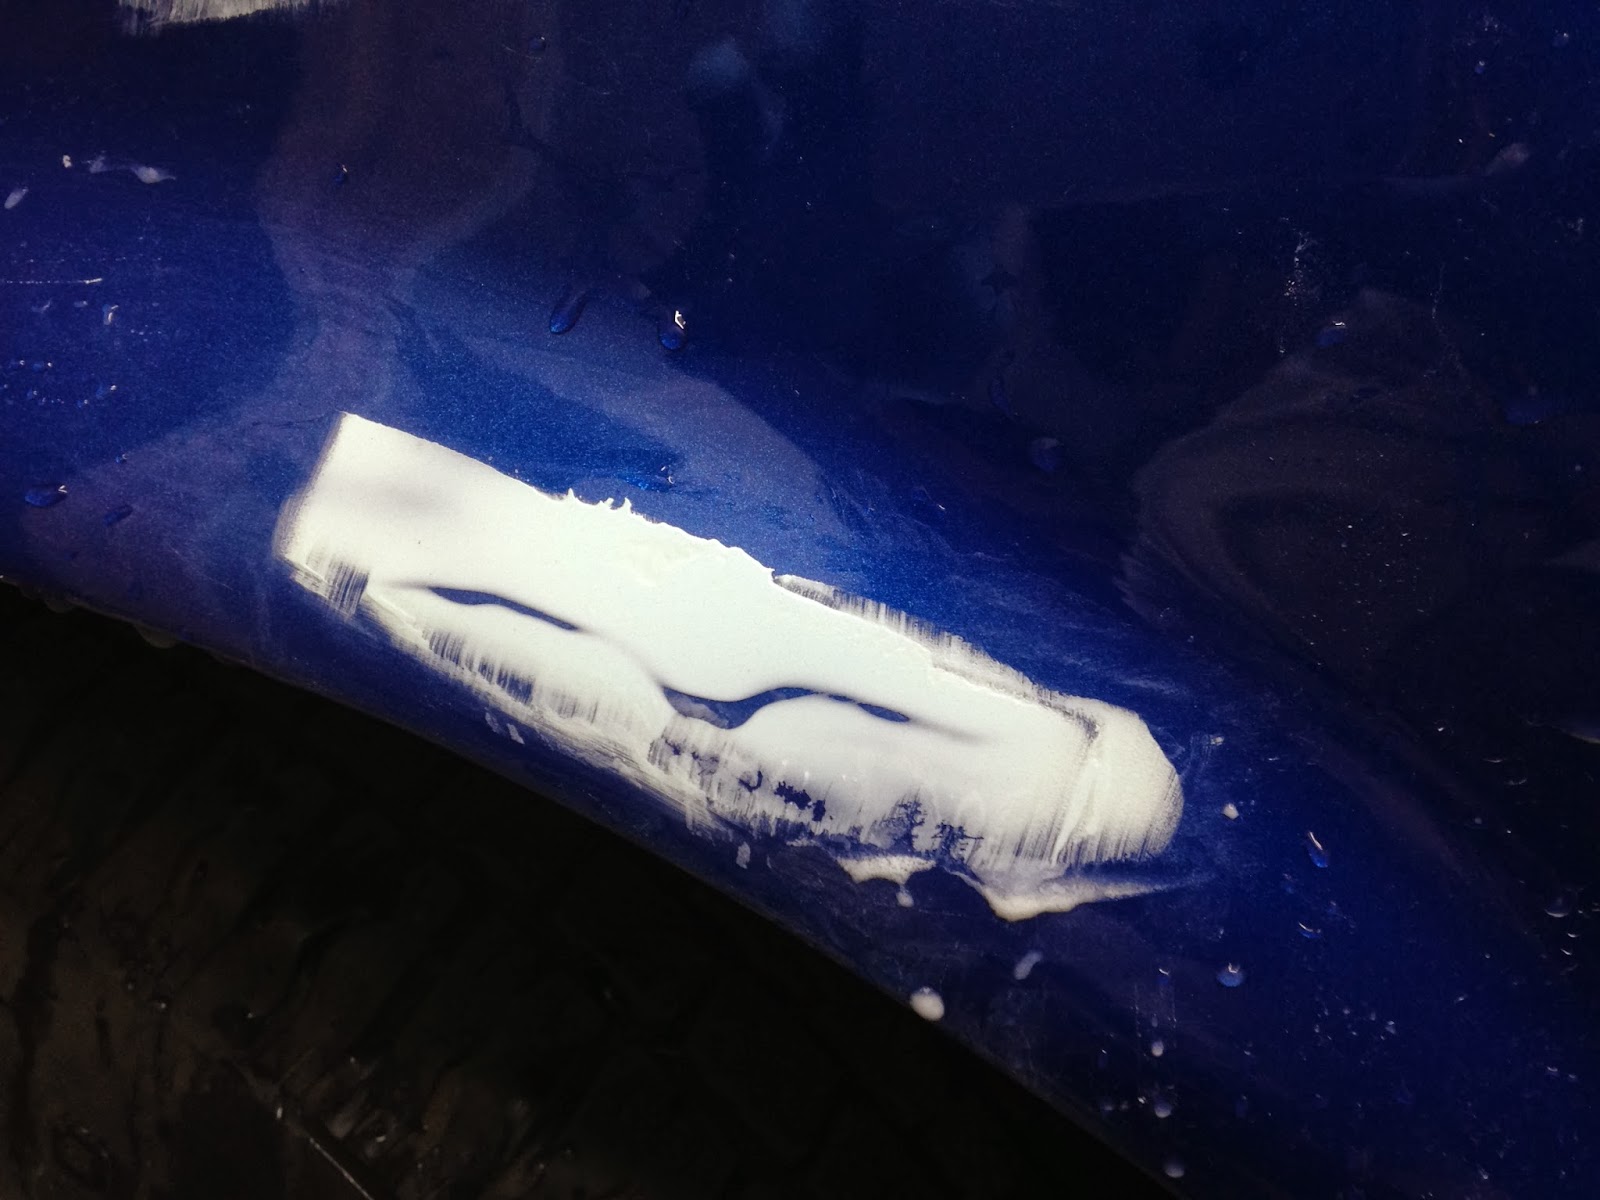
Finally, the chromed plastic was polished with the white rouge compound of the Eastwood polishing kit
I have described previously. This removed all the little black pits in the chrome plating as well as some green oxidation-looking stuff. The trick is not to dwell too long in any one place as it is possible to burn through the chrome. After buffing, I wiped down with a chrome wheel polish and the chromed plastic now looked brand new.
 |
| This is some of the crap on the edge of this bezel. It won't just wipe off, even with chrome polish. |
 |
| After buffing, not only was it completely gone, but this looked brand new. |
 |
| Assembled and good as new. |
|
|